
Getting set up with a new cone filler can feel a little awkward at first. It's easy to get slowed down if you're not sure where to begin or miss a small step along the way. But once you learn the right setup, it becomes a smooth part of your routine. We’ve had plenty of trial and error ourselves, so we know how a few changes can save you time and prevent wasted cones or flower. Whether you’re filling for a solo session or prepping a few for later, there’s a faster way to get things rolling without cutting corners.
Get Your Space Ready First
Before you even touch your gear, take a second to set up your space. A good spot makes a big difference in how smoothly things go. You want a flat, steady surface that won't shift while you're working, like a clean table or counter. Avoid cramped areas where stuff can spill or fall over mid-step.
Make sure the area isn't too cold. When things get chilly (especially in late fall), plastic parts can stiffen and make the cone filler harder to use. Try keeping gear at room temp so it moves the way it’s supposed to. Cold or sticky pieces can jam and slow down your whole setup.
Also, gather what you’ll need so you’re not running around mid-fill. Keep your ground flower, cones, loader, and any packing tools within arm’s reach. When everything’s close by, the whole process goes much faster and feels less messy.
Break Down the Parts Before You Begin
It might be tempting to just grab the cone filler and start right away, but it’s worth taking a second to look things over. Knowing each part and how they fit helps keep it from jamming or sticking later.
• Start with the tray or loading base. This is where the cones or molds sit.
• Next is the loader or press. This piece pushes the flower into the cone evenly.
• If your machine includes a funnel or guide tube, check that it lines up or locks in right.
Take a quick look to make sure nothing got dusty or sticky between uses. Clean parts go together more smoothly and keep the flower from sticking where it shouldn’t. A gentle wipe with a dry cloth is all it takes.
Even though it might feel like an extra step, checking your gear before every session helps you pack faster and keep your cones burning right.
Use the Right Grind and Pack It Evenly
The way your flower is ground matters more than most people think. If it's too chunky, it won't slide into the cone right. If it's too powdery, it might clog or burn too fast on one side. A medium grind usually gives the best fill, a nice balance that packs tight without cutting off airflow.
We’ve seen a lot of issues come from uneven packing too. When one side gets packed tighter than the other, the cone can canoe or burn unevenly. That’s where steady pressure makes a difference. Try to push down evenly across the top, making small adjustments instead of pressing super hard.
Using a cone filler isn’t just about speed. It’s also about consistency. Once you land on your best grind style and packing rhythm, the whole pack-and-smoke flow gets easier.
Avoid Common Time-Wasters
Everyone hits snags now and then, but most of them are avoidable once you know what to watch for. A few small habits tend to slow people down more than anything else.
• Skipping warm-up steps, like taking cold gear straight from storage to loading
• Grabbing old or creased cones that fall over or don’t hold shape
• Trying to multitask while packing, which leads to dropped cones or spilled flower
We know how tempting it is to rush, especially when you’re eager to get your session started. But slowing down just a little at the start helps the whole process go faster. It’s better to fix a leaning cone early than to repack the whole thing after it fails halfway through.
Your Gear Only Works If You Use It Right
Even the best gear won’t help if it’s used the wrong way. If you’re new to your setup, take a few quick test runs before packing actual cones. Skip the flower and just test how the machine feels when it’s empty. You’ll pick up on how the parts move together and spot anything that feels off.
It’s also smart to store your gear somewhere clean and dry. Dust, sticky residue, or leftover bits from the last session can mess with the next one. And if your machine lives somewhere cold, give it time to warm to room temp before using it.
Doing things the same way each time helps more than you think. Not only does it cut down on mistakes, but your speed improves each time too. What feels slow at first turns into natural muscle memory once you’ve done it a few times.
Choose a cone filler Designed for Easy Setup
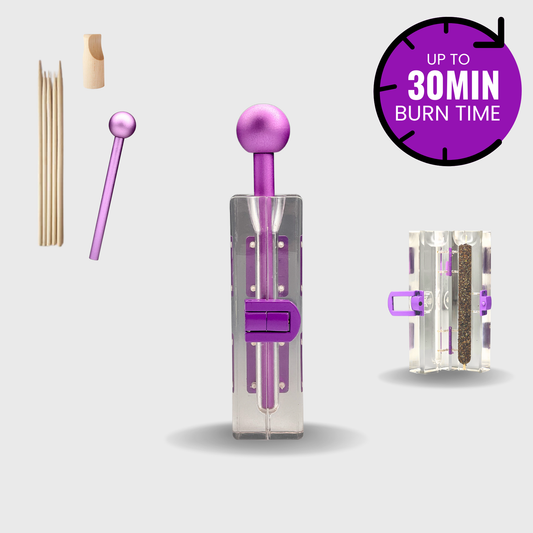
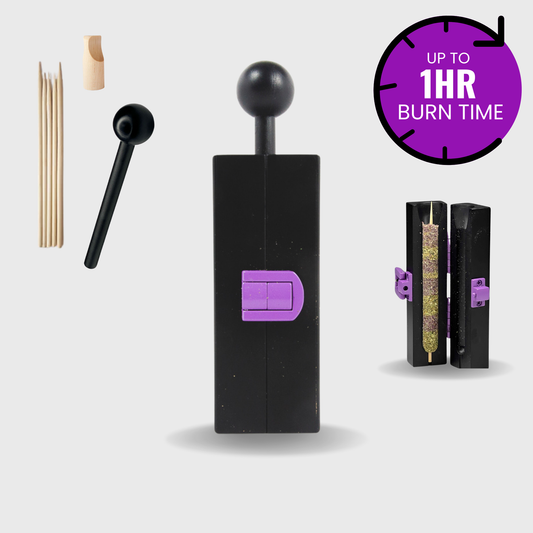
Our Dog Walker Packer is a compact cone filler that makes setup simple and lets you fill multiple mini cones quickly. Each kit includes a loader, packing stick, and cleaning tool, so you have everything you need to get started and stay organized. The thoughtful design helps minimize mess and makes the entire packing process hassle-free, even if you're new to cone fillers.
Selecting equipment made for home use can help streamline your workflow, especially if you're preparing several cones at once. Look for machines with intuitive parts that come apart for easy cleaning and assemble in seconds. We are known for making high-quality accessories that perform just as well for solo sessions as group gatherings.
Prep Smarter, Pack Faster
A few smart steps early on make setup easy, whether you are a beginner or a more seasoned enthusiast. Take time to evaluate your equipment and reduce clutter before packing each session. The right machine can be the difference between a slow start and a satisfying smoke.
Prepping for your next session becomes effortless with a well-made cone filler that delivers consistent results every time. We understand how important it is to have gear that keeps your workflow smooth and your workspace clean, so every detail is thoughtfully crafted at Purple Rose Supply. Have questions about refining your packing process or choosing the ideal tool for your needs? Reach out to us for expert advice and support.